#distributedsystems #infrastructure #opensource #tutorial
Author: Rajendra Acharya
Why Proxmox and Ceph?
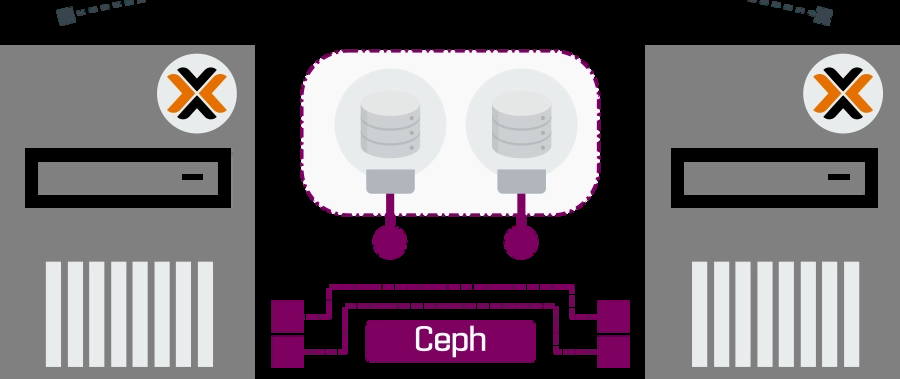
Proxmox VE is a powerful open-source platform for managing virtual machines and containers. When combined with Ceph, it enables a highly available, scalable, and cost-effective infrastructure.
Key Benefits
- High Availability (HA): Minimized downtime through automatic failover.
- Scalability: Seamlessly expand compute and storage resources as needed.
- Cost-Effectiveness: Open-source, community-driven technologies with enterprise-grade capabilities.
This combination is ideal for enterprises, startups, and home lab enthusiasts looking to build a production-grade hypervisor infrastructure.
Setting Up Proxmox Infrastructure
Step 1: Install Proxmox VE
Download the ISO Download the latest Proxmox VE ISO from the official website.
Install Proxmox VE
- Create a bootable USB drive or use PXE boot.
- Install Proxmox VE on your server hardware.
Initial Configuration During installation:
- Configure the hostname.
- Assign a static IP address.
- Set the root password.
- Verify management network connectivity.
Step 2: Configure Networking
For production environments, proper network segmentation is highly recommended.
Recommended Network Setup Use bonded interfaces for redundancy and improved reliability. Create separate VLANs for:
- Management traffic
- Ceph storage traffic
- Virtual machine traffic
This separation improves both performance and security.
Setting Up Ceph for Distributed Storage
Step 1: Prepare Proxmox Nodes
Before deploying Ceph:
- Ensure you have at least three Proxmox nodes for cluster reliability.
- Install additional disks on each node for Ceph OSDs (Object Storage Daemons).
Step 2: Install and Configure Ceph
Enable Ceph
- Navigate to:
Datacenter → Ceph. - Initialize the Ceph cluster.
Deploy OSDs
Add dedicated disks as OSDs from: Ceph → OSD. These disks will provide distributed storage capacity for the cluster.
Configure MONs (Monitors) Deploy at least three monitor nodes to maintain quorum and ensure cluster reliability.
Create Ceph Pools Create storage pools and define redundancy policies such as:
- Replication
- Erasure Coding
Pool configuration depends on your performance and redundancy requirements.
Integrating Ceph with Proxmox
Step 1: Add Ceph Storage to Proxmox
- Navigate to:
Datacenter → Storage. - Add Ceph RBD as a storage backend.
- Verify connectivity and pool access.
Step 2: Migrate VM Storage
Move VM disks to the Ceph RBD pool to achieve:
- Centralized storage
- Live migration capabilities
- High availability support
High Availability and Maintenance
Configure HA in Proxmox
To enable high availability:
- Create HA Groups and define failover priorities.
- Configure quorum and fencing properly to avoid split-brain scenarios.
Regular Maintenance
Monitor Ceph Cluster Health Use the following command regularly:
ceph status
Monitor Infrastructure Performance Use the Proxmox dashboard to:
- Monitor VM performance
- Track storage utilization
- Review cluster health
The Takeaway
Building a hypervisor infrastructure using Proxmox and Ceph provides an excellent balance of flexibility, reliability, and scalability. While the initial setup requires careful planning, the end result is a resilient and enterprise-grade infrastructure powered entirely by open-source technologies.
Whether you're building a data center platform, private cloud, or advanced home lab, Proxmox and Ceph offer a powerful foundation capable of competing with many commercial solutions.